The scream of Formula One cars roaring away from the grid at the start of a race. A wonderful sound. Carbon splitting, chipping, cracking or shattering. Oh dear! An expensive sound and the worst noise an angler can hear, without any doubt – enough to make a grown man cry! Never fear. Cadence man Alan Barnes provides a few handy tips to help you keep your fishing pole in tip-top condition.
Let’s face the facts. A pole purchase is usually the biggest outlay an angler will make in his fishing lifetime.
But they are fragile pieces of kit and need treating with some respect.
Hopefully, the tips offered will help you to keep your pole in good nick and prevent breakages and the inconvenience that goes with it.
Fishing Pole Joint Protection
Let’s start with fishing pole joints. Whether it is the male joint or the female joint, these are prone to damage through continuous wear and tear. It is also very easy to split a female joint on a put-over pole when playing a biggish fish if you are trying to break down the pole and remove the sections behind the female joint whilst the fish is still trying to swim in a direction away from that in which the pole is facing. This is because the pole will be ‘ovalling’ under pressure from the fish. Care is needed in this situation, plus a little patience. You can also split a pole section trying to align and piece together sections in windy conditions, so again, care is needed.
The simplest way to avoid damage through misalignment is to invest in some form of nosecone to fit into the male joints. These make the job of aligning and piecing sections together safer and easier
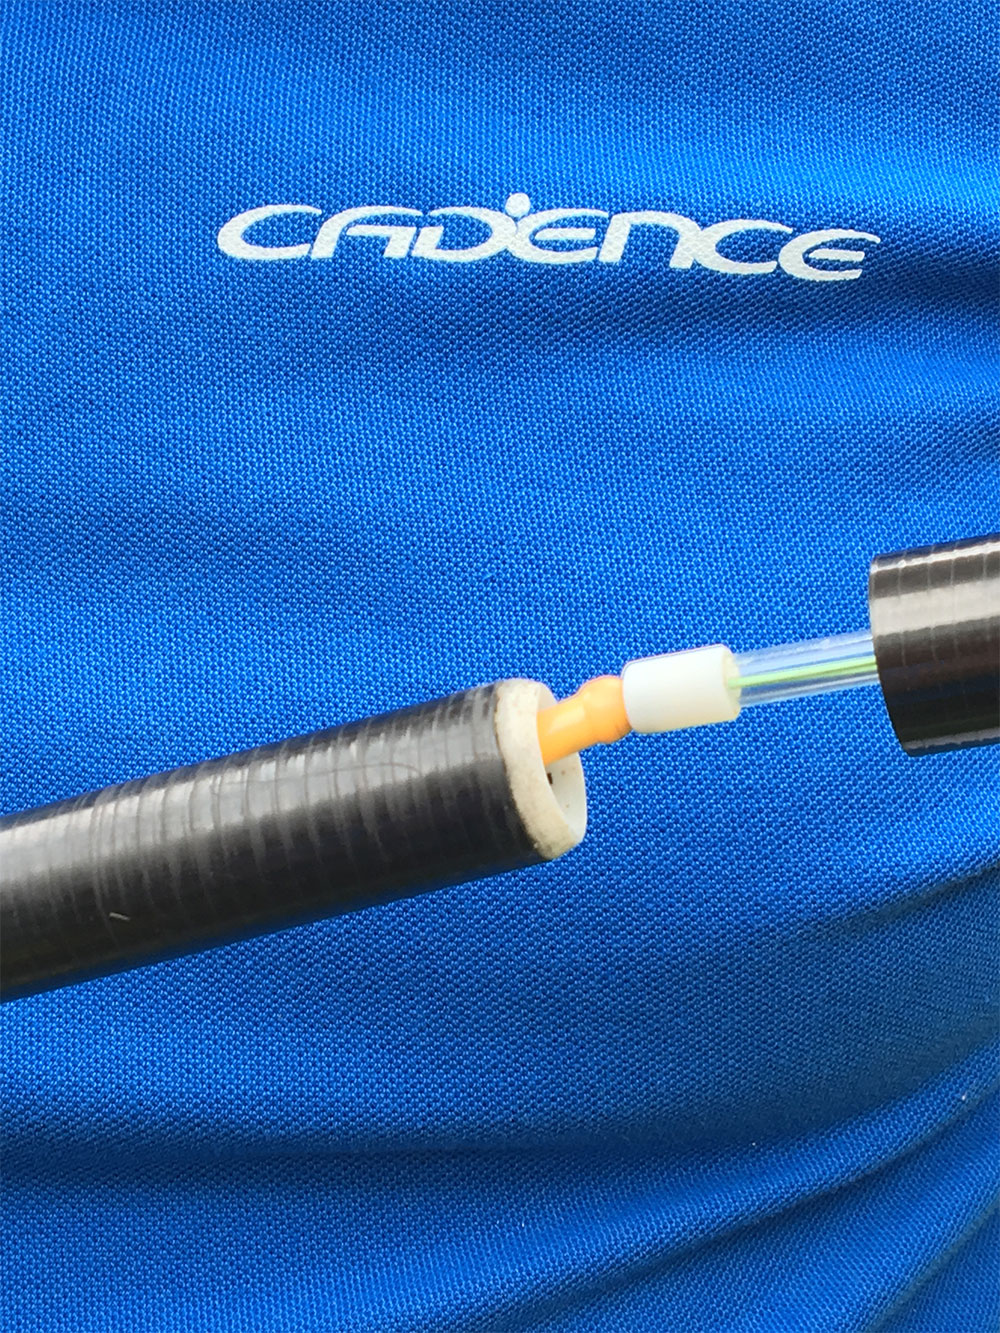
Maver Clean Caps are an excellent invention and fit the bill handsomely. Having said that, for additional strength on the top of the male joint, you can also buy PTFE nose cones. Fortunately, a type of PTFE nose cone available ‘off the peg’ in tackle shops fits straight into my Cadence CP2000 pole and I use these for the bigger sections from the No8 section forward to and including the No6 section.
I use Maver Clean Caps on the sections from No5 section forward, to and including the No3 section as these are the sections I am most likely to ‘ship off’, or break down on when landing fish or simply shipping in to change the hookbait. The beauty of the Maver Clean Caps is that because of their design, they actually clean out any debris or grit that may have become trapped in the female ends of your pole. And this in itself reduces wear and tear. A variety of sizes of clean caps are available and if in doubt, why not take your pole to your local tackle shop and ask the tackle dealer to help you find the correct sizes for your fishing pole.
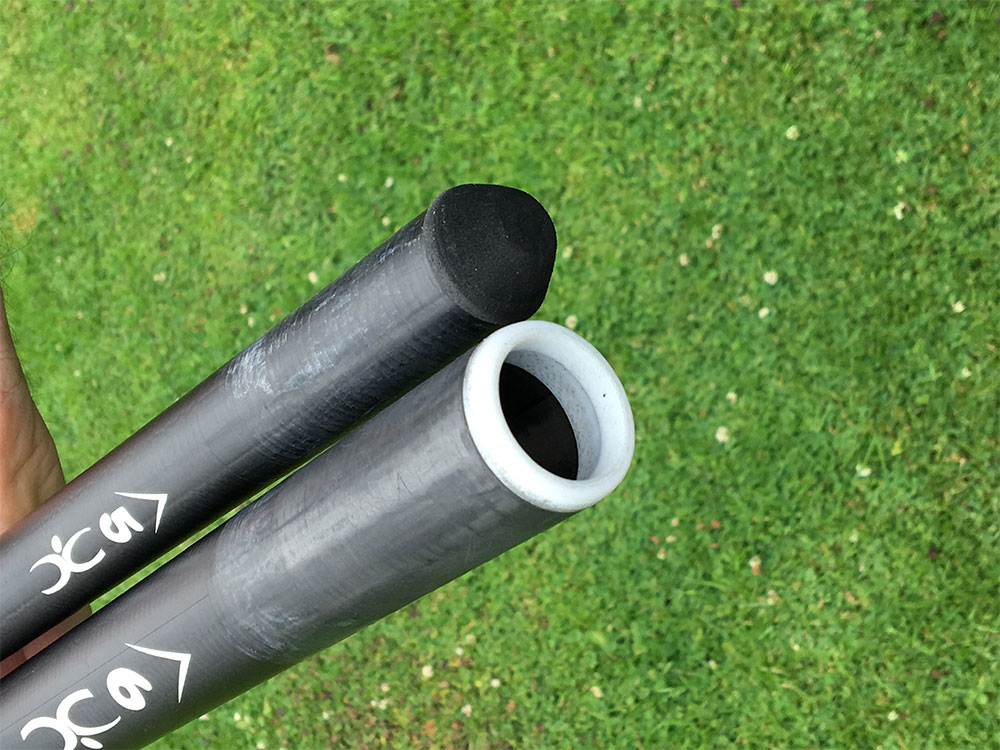
Another valid point worth making is that you can easily drill a hole in the tip of the clean cap so that a puller bung rod can be inserted through the hole, if puller bungs are something you like to use when elasticating your pole Alternatively you can buy hollow PTFE nose cones and puller bung rods go straight through the hollow centre of these.
Wash & Go
It does not hurt to give your fishing pole sections a wash through with water from a hosepipe to remove grit and dirt from time to time when at home. By doing so, those of you who suffer from a condition known as ‘Tackle Tartitis’ will also save those lovely, sexy graphics on the bigger pole sections from getting scratched beyond recognition!
Pole cleaning kits are another item worth investing in. Maver market a kit which is available on the internet and through tackle shops for around £25. This kit comprises various sizes of brush head which attach to slim, steel rods which screw together to a maximum length of 1.60 metres. Rather like a chimney sweep brushing out your chimney in days gone by, this kit enables you to properly clean out any debris built up over time from the inside of your fishing pole. And if you think about it, it may also result in the pole feeling slightly lighter and stiffer.
Joint Saving Lotions & Potions
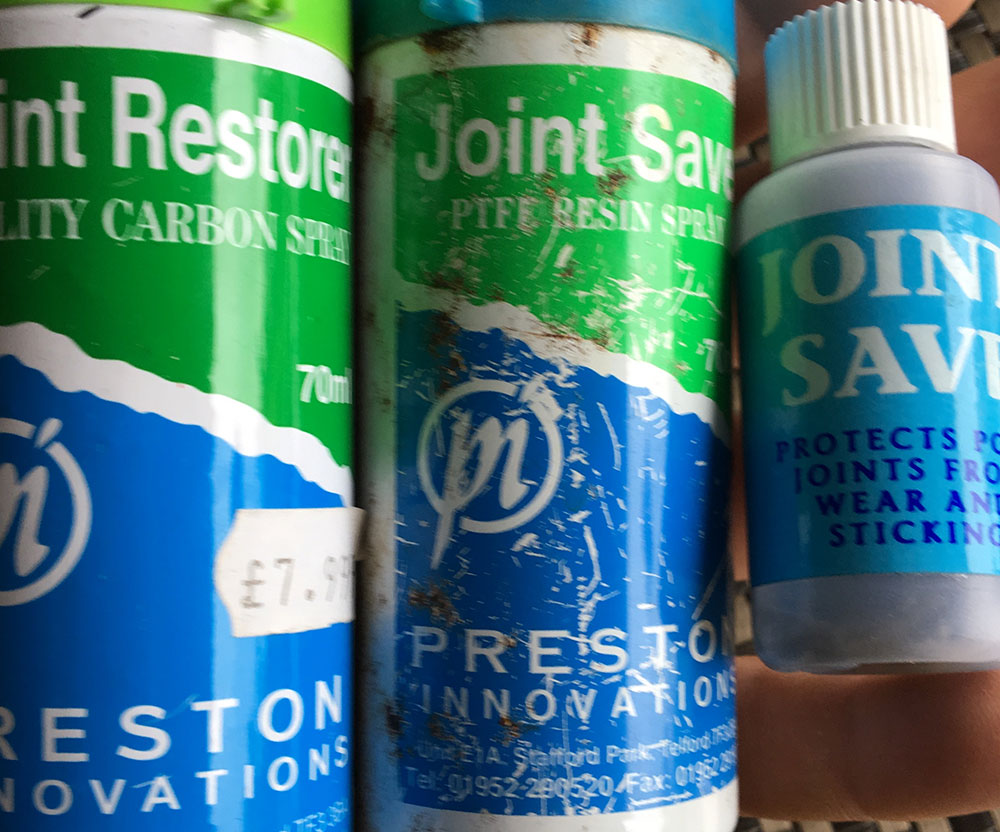
Now let’s look at other means of joint protection. The act of sliding carbon on carbon leads to wear on the joints over time, so you can slow the process down by taking a couple of simple steps. You can buy PTFE-based joint save products, which you brush or spray on to fishing pole sections, and in the case or worn sections, you can buy carbon spray, to build sections back up. Or if you like to watch your greenbacks, you can nip down to your local DIY store and buy some sanding sealer and paint this onto those male sections. It does the same job and you get a lot more of it for your hard-earned.
Candle Wax On Joints
Another tip is, after buying a new pole, to simply run a candle along the male joint – just the bit that fits into the female end of the next section – in a couple of places, to add a fine layer of wax. This will assist the slowdown of wear and tear.
On the Bank Care
Now let’s briefly look at other good habits to bring into the equation on the bank.
So what do I never leave home without if heading to the canal or riverbank for a pole fishing session?
Pole Ripple Bars
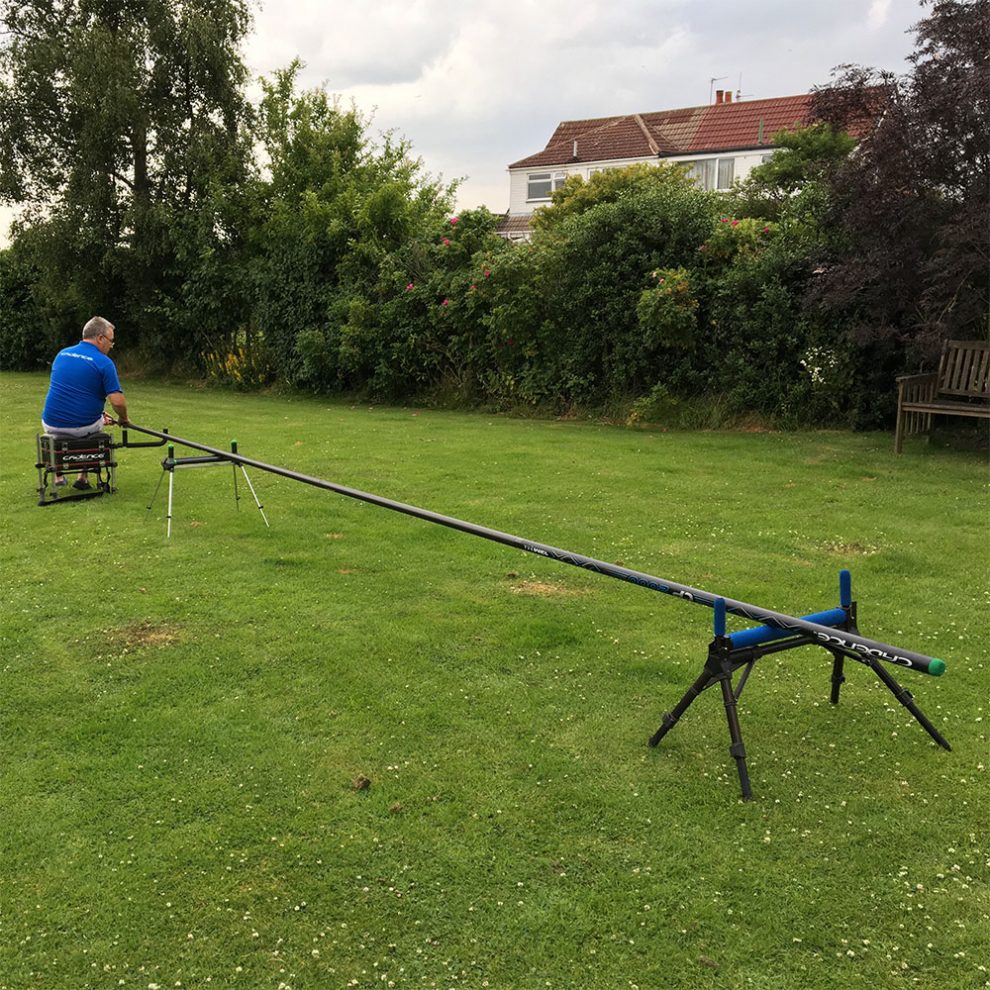
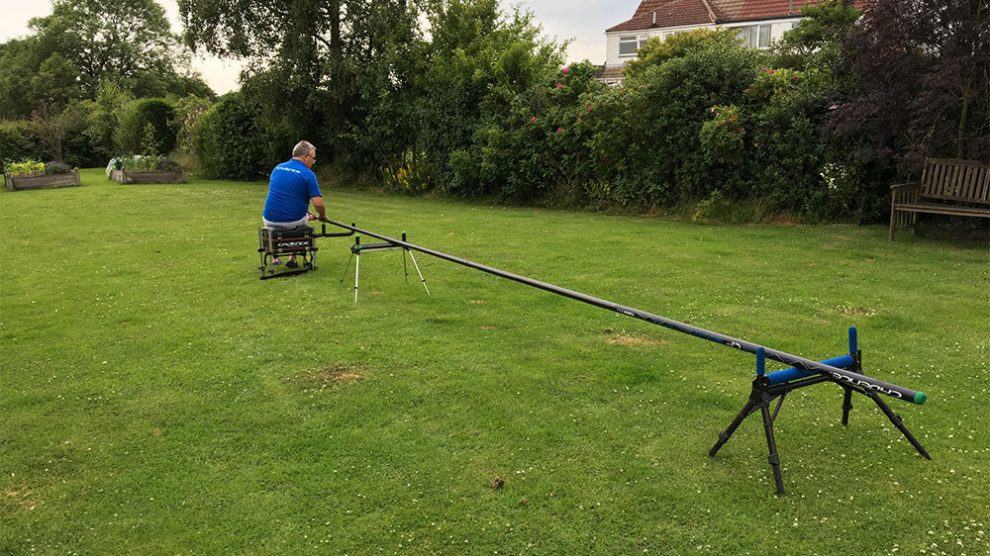
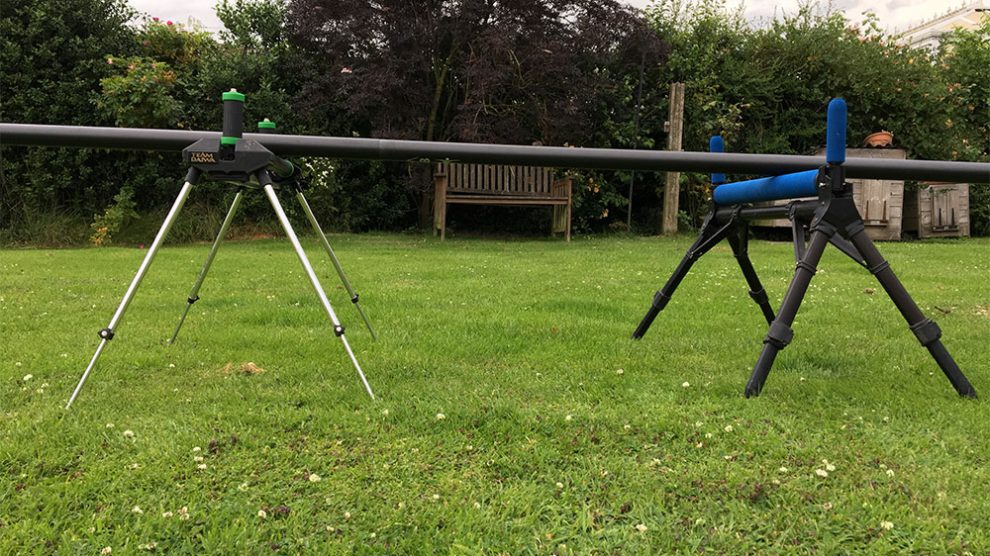
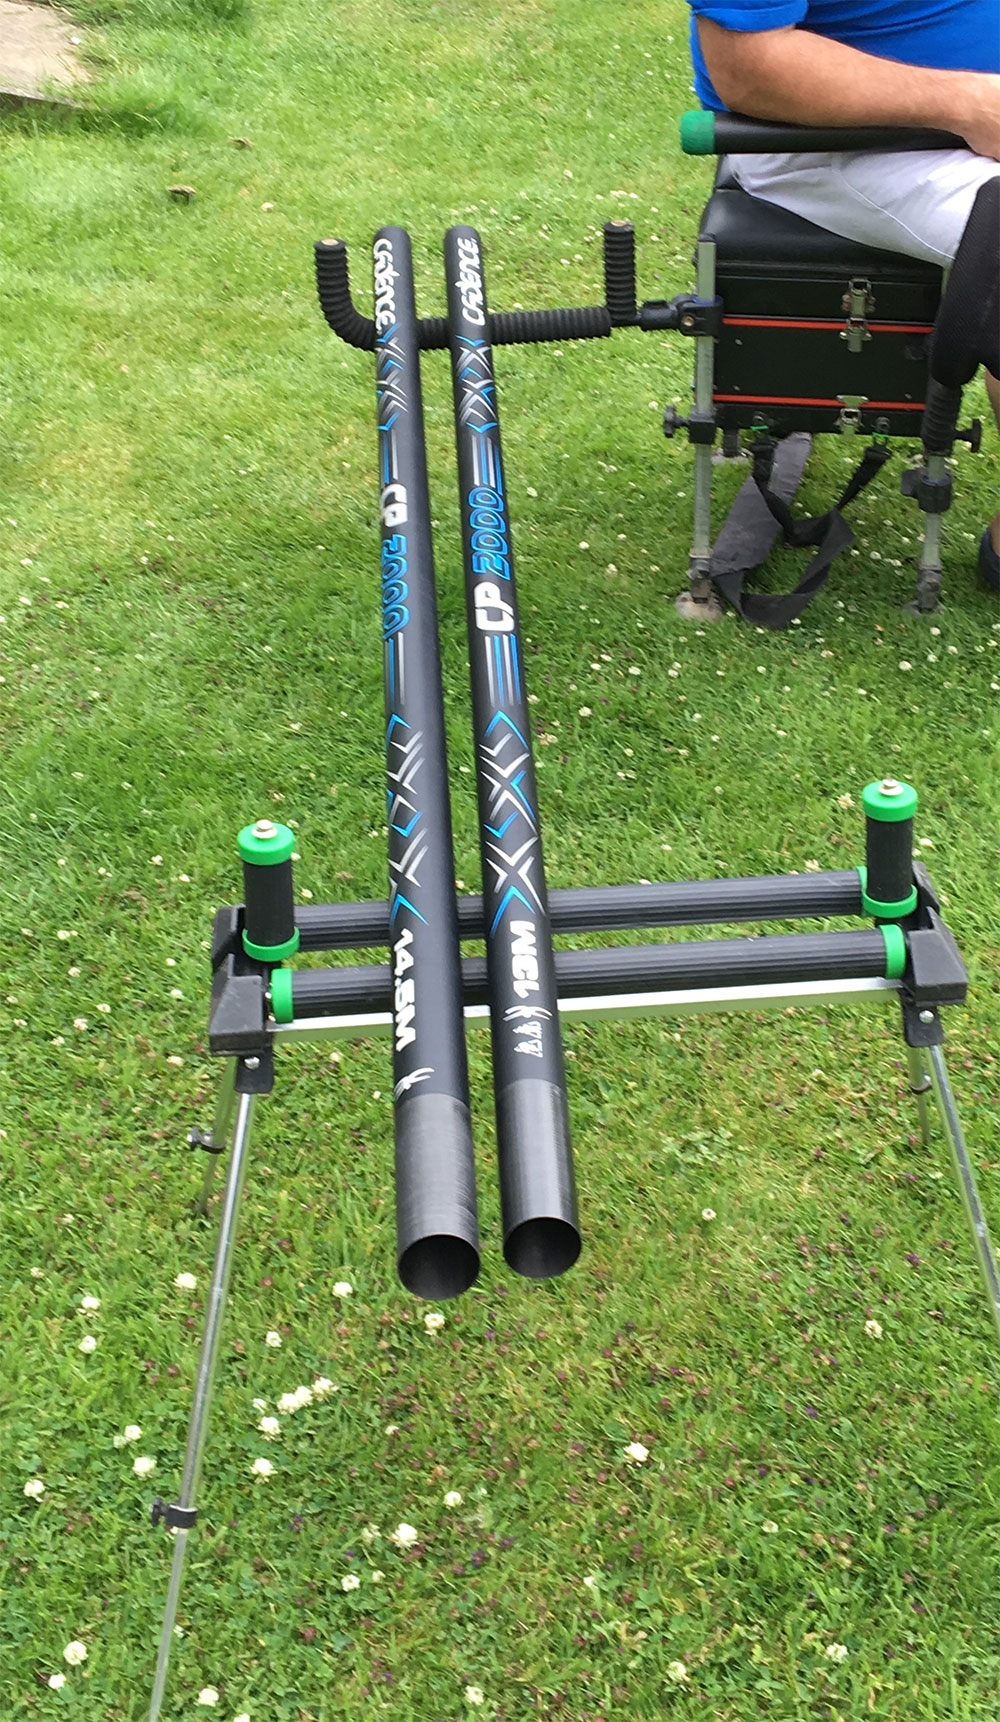
I think these are a fantastic aid to protect your fishing pole. I use mine not only to rest the fishing pole on after breaking down but also when fishing on canals with narrow towpaths. I find a long ripple bar essential for keeping sections of pole safe which are not being used. I am sure many canal anglers reading this will have experienced a dog coming bounding along the towpath off its lead, looking for food! And if like me, you do a lot of bread punch fishing, you are in trouble!
Many is the time that a pesky pooch has made a beeline for my bread supplies and, as a dog lover, with two mutts of my own, whilst I understand that the dog does not know a fishing pole section is very expensive to replace if broken, sadly, neither do the majority of dog owners/mountain bikers and joggers.
I set up a lightweight pole roller to my right, and keep big sections like the 16metre and 14.5 metre sections on it, off the ground, where dogs cannot stand on them, or walkers/joggers/cyclists for that matter.
Pole Socks and Pole Tulips
Again, these items are not a gimmick, they can save you a lot of money and heartache because you may find that if it is windy and you do not use one, your fishing pole can be blown along the bank, with a high risk of unnecessary damage. If you take many natural venues with steep bankings behind you, or a tall obstacle such as a hedge to go over, a pole sock or tulip makes all the difference in the world for securing your pole when you have unshipped to land a fish. You can even buy double pole socks for when you need to unship more than once. Essential.
Home-Made Pole Hoop
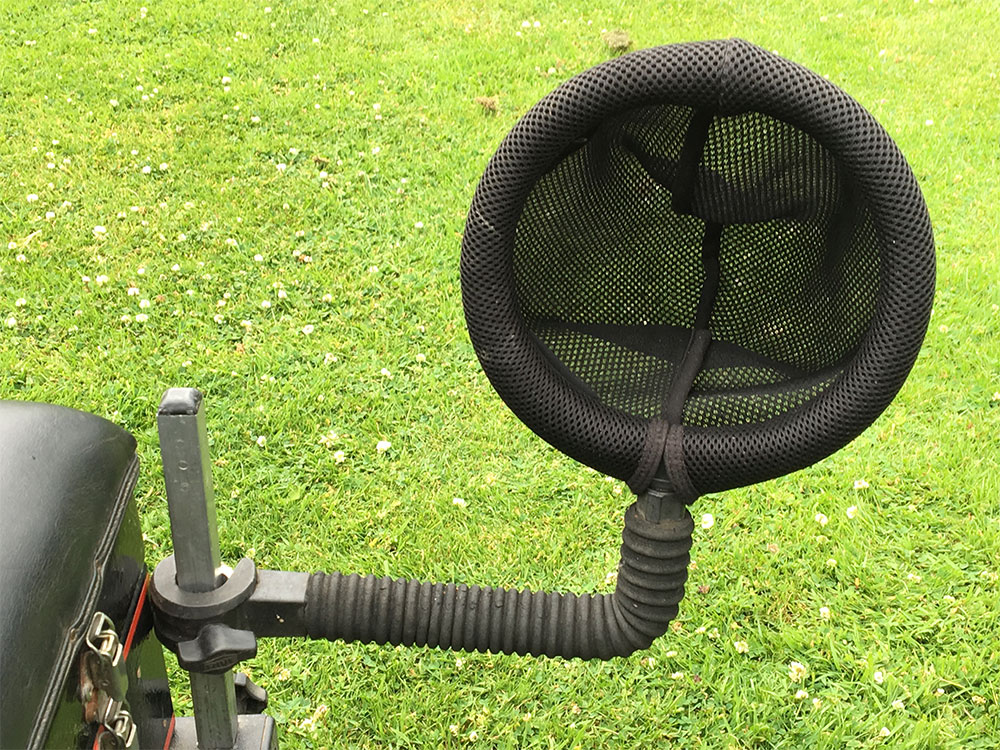
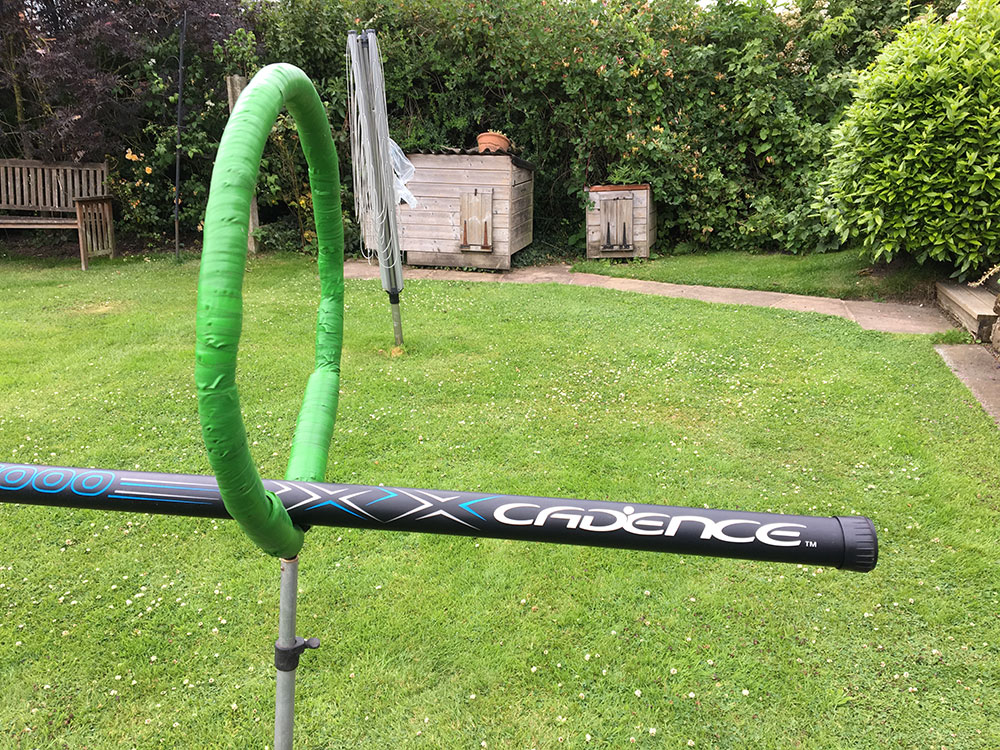
I see quite a few of these on the bank and they take up no room in your net bag. I made mine from an old landing net head and fitted pipe lagging insulation material around the frame, then taped it up in a hi-viz colour so it is easy to see when shipping back. It weighs nothing and importantly keeps your fishing pole OFF the ground and out of harm’s way. Used in conjunction with a pole sock or tulip, it is a must-have piece of kit to look after your fishing pole.
Pole Protection Skid Bungs
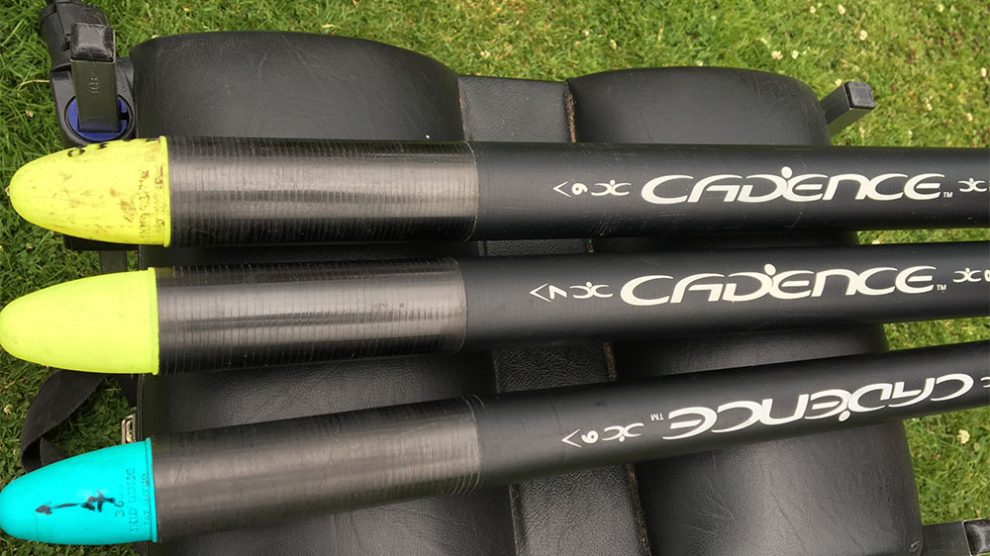
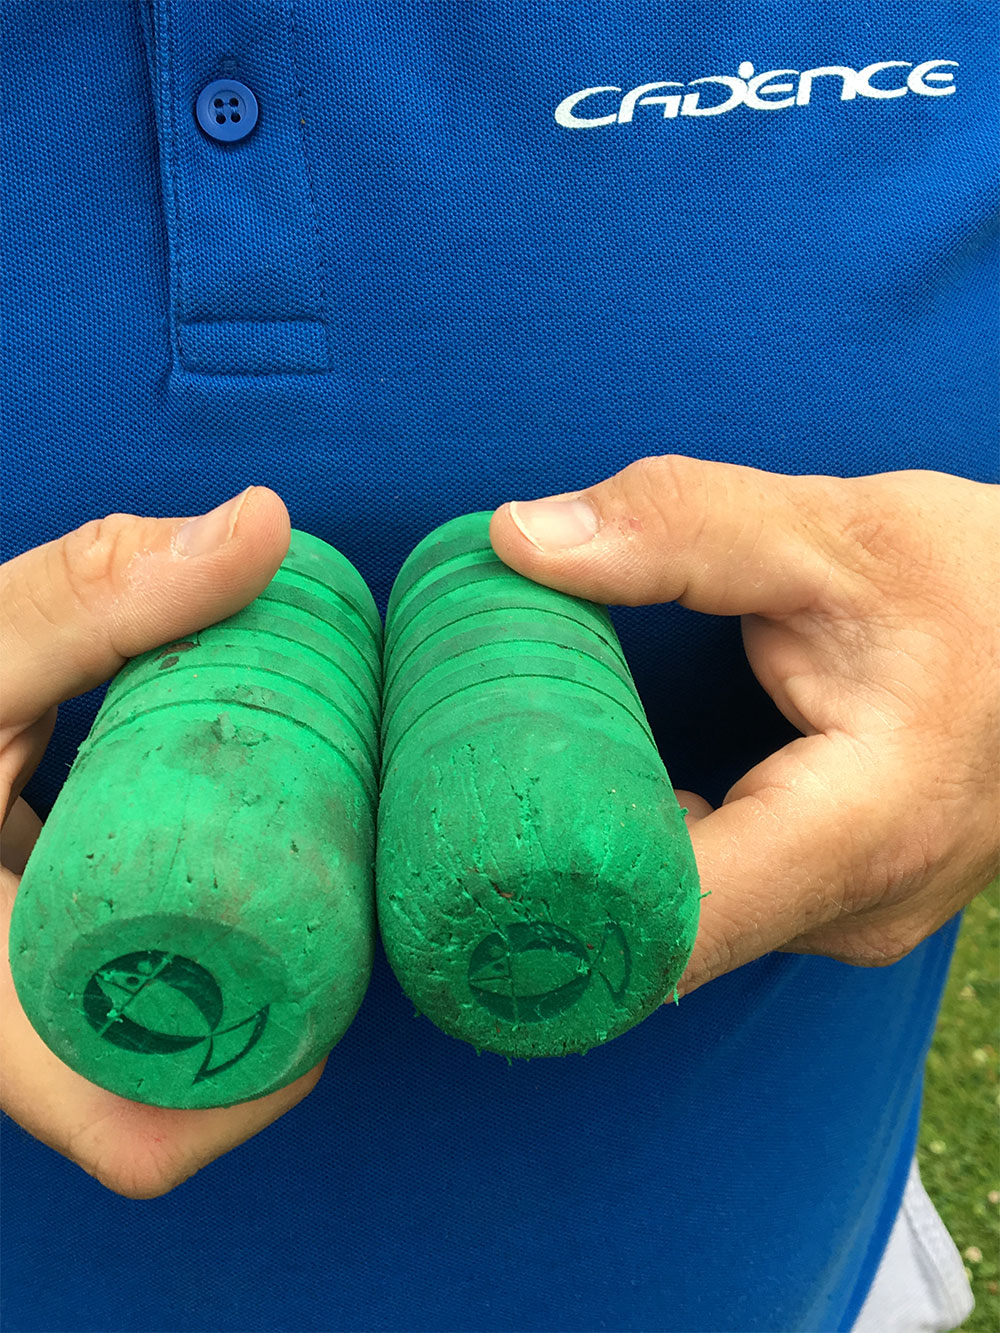
It is well worth investing in a few skid bungs to pop in the ends of sections. Recently I bought a pair of Sensas lightweight EVA skid bungs that fit a variety of pole sections and I have found these superb. They are inexpensive and can save you a fortune in chipped or damaged sections. If you see the picture, you can see the damage that thorns and brambles have caused to the skid bungs, rather than to my pole. That says it all. When I see anglers with female ends of pole sections chipped, cracked or with bits missing, I know they have not been using bungs. These will really help to prolong the life of your fishing pole.
Other Pointers
That just about covers the things I use to look after my pole but before I sign off, there are a few other pointers that I think are worthy of mention.
Go Over Obstacles, Not Through Them: Unless you can find a decent hole in a hedge on canals, I would always choose the option of shipping a pole over a hedge rather than ramming a pole through a hedge. And believe me, I have seen anglers doing this and risking a hawthorn knuckle or something else like a piece of barbed wire going through the sidewall of their pole. If you are on a peg backing on to a fence to somebody’s property, it is also courteous to ask them if they do not mind your pole going over their fence!
Fish-playing Common Sense: When playing fish it puts far less stress on the pole to keep the pole low to the water until you have shipped back and are ready to break off to land the fish. Please don’t try to land fish with several sections of pole above your head. With side pullers and puller kits readily available nowadays, the days of seeing an angler with five metres of pole above his head, back beyond vertical, trying to land fish like carp should be behind us! It’s a recipe for broken pole sections.
Use Rod Tubes: When transporting your pole to your peg, always carry it in rod tubes inside your holdall – this goes for the main pole, spare sections and top kits. No further explanation is necessary!
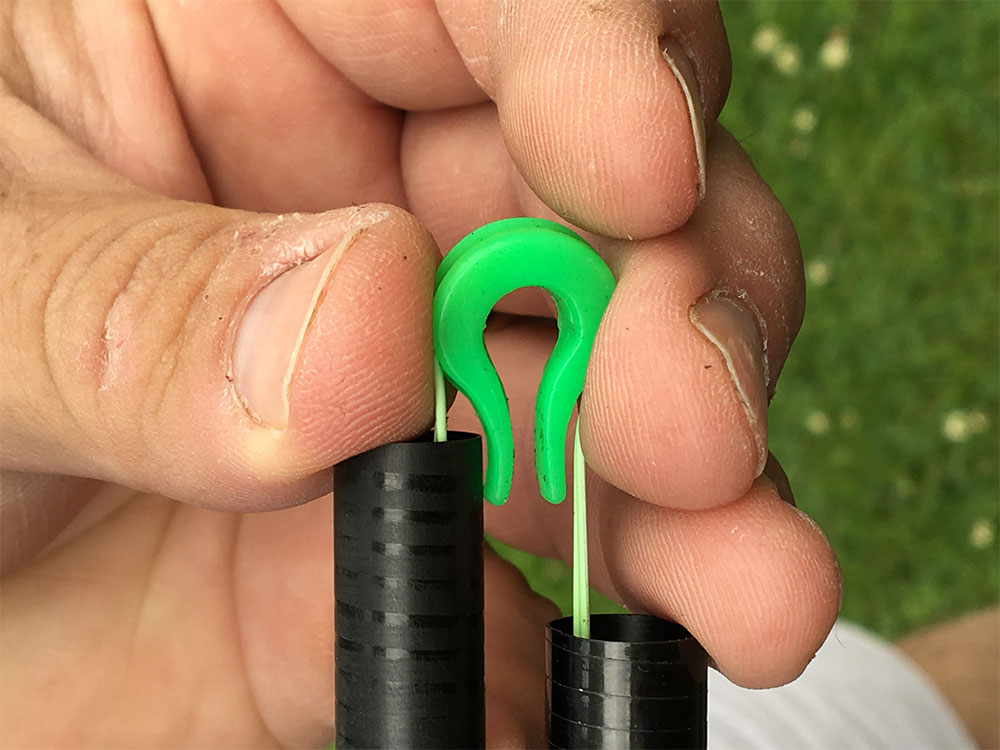
Elastic Protection: When you have a couple of pieces of pole elasticated, those little soft PTFE horseshoe protectors, for carrying those sections to and from your peg are a great idea, as the edges of the pole sections can soon fray an elastic. Inexpensive to buy, they give you the peace of mind that your elastic will not break on a decent fish.
Pole Rollers: It pays to buy at least a couple of pole rollers and they need not be overly expensive models. If using two rollers it pays to spend a few minutes setting them up in terms of distance apart and height-wise so that there is no bounce as the pole leaves the rear roller with the front roller now taking all the weight. It is easy to get wrong if you are inexperienced and it can result in breakages or, frustratingly, feed in a cadpot bouncing out in entirely the wrong place in your swim. The key is, where possible, to position the front roller just slightly higher than the rear roller.
Top Kit Ready Cases: It can save you several minutes if you have a top kit case or holdall with ready-made top kits and rigs attached to them for your session. I started using one a couple of years ago and in a situation where you have a limited amount of time to tackle up this can make a big difference to your state of readiness for the all-in. Importantly these rigid-panelled, lightweight cases also provide great protection for pole sections.
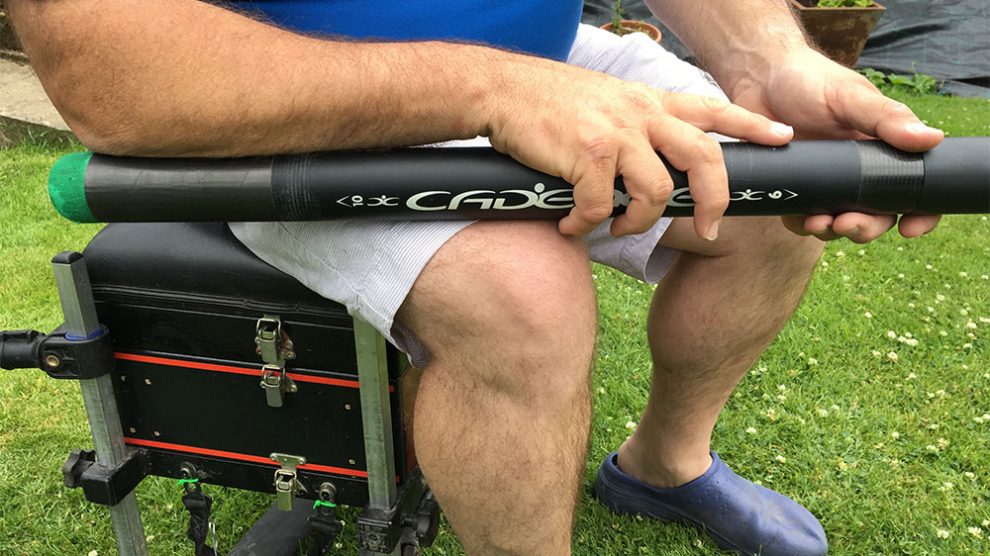
Dolly Butts: The Cadence CP2000 pole comes with three short dolly butts as standard, fitting anywhere from the bottom of the number five-section back to 16 metres. They are thicker walled than the standard pole and are designed to withstand punishment. Several manufacturers make dolly butts and my advice is to use them wherever possible. The fact they are thicker walled than standard means you can hold the pole with your elbow at the end of the dolly butt section and there is no chance of your elbow putting stress on the thinner carbon section of a standard pole and potentially cracking the carbon. The Cadence dolly butts are reversible and I have fitted skid bungs in mine and filed down the external lip of some older skid bungs so that I can use them either way without having to remove the skid bung on the end going inside the main pole section. See pictures.
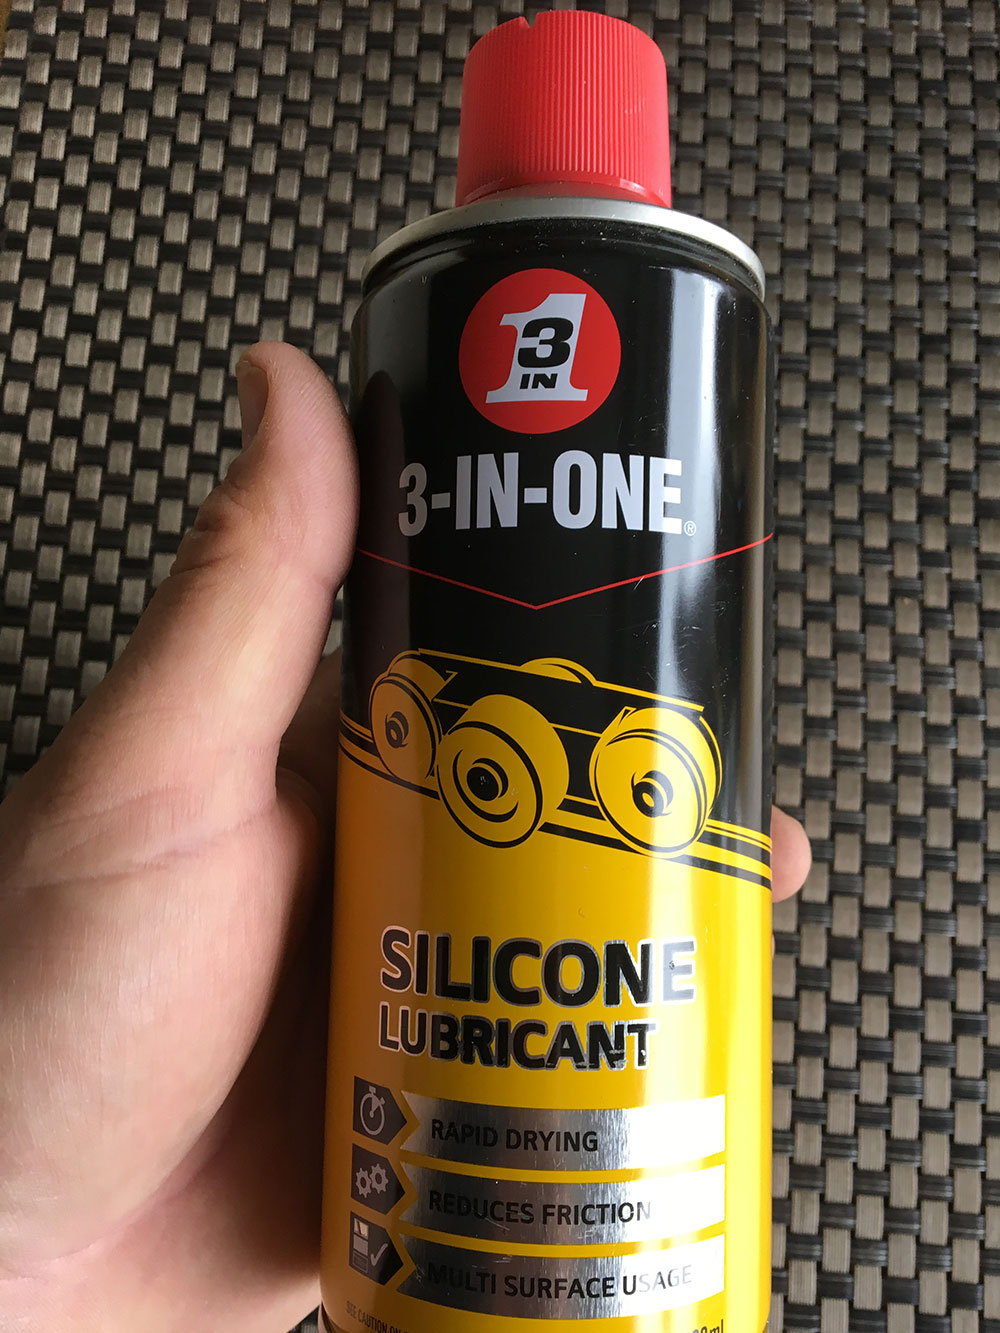
Smooth Shipping: The final tip offered is about pole performance. Most poles have a satin finish making them glide easily through the hands when speed fishing. I like to give the pole a wash down with soapy water and a sponge every few outings. Once dried I like to spray some silicone spray onto a cloth and wipe the sections over with it. This helps to repel water and makes shipping a smooth and easy process when it is raining and your hands are wet.
Conclusion
I think that is all the main points covered and I hope this is of use to people making the plunge and buying their first pole. Thanks for reading and good luck with your future fishing.

